|
|

Getting started is a three-step process that takes the average user five minutes.
This document covers:
- Getting started in 3 easy step (5 minutes)
- Adding a page (1 minute)
- Editing a page (1 minute)
Most of your time will be spent writing content for your website instead of
editing your website.
This is what you should be doing and Y2WebBuilder makes it happen for you..
Getting started in 3 easy steps
The three-step getting started process looks like this:
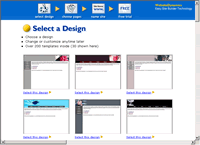 |
Step 1: Choose a Design
Click on a design.
- 30 are shown but over 200 are available inside.
- You can change designs anytime.
|
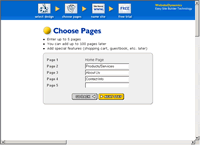 |
Step 2: Choose Pages
Name up to 5 pages in your site.
Add more later any time. |
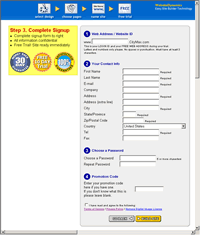 |
Step 3: Choose a Domain, Enter Signup Info
Choose a site name.
Enter sign up information.
You're done! |
Adding a Page
Adding a page takes about one minute:
 |
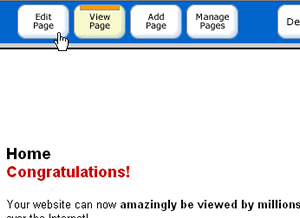
Step 1: Click “Add Page” in the toolbar
By clicking the “Add Page” button, you will start the add
page wizard. |
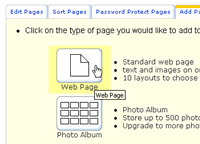 |
Step 2: Choose a page type
Click on over 20 page types.
Includes:
- Photo albums
- Message boards
- Custom forms
- Shopping cart catalogs
- more...
|
 |
Step 3: Enter a page name
Enter a name for your new page then go ahead and edit it. See below for
editing info. |
Editing a Page
Editing a page takes about one minute:
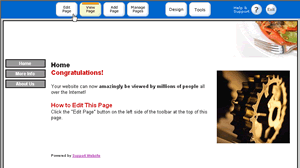 |
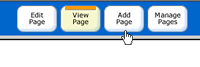
Step 1: Click Edit Page
A toolbar is always shown at the top of every page in your website. Only
you can see it.
Click "Edit Page" in the toolbar to edit a page.
If you just added a page, skip this step as you will automatically
taken to edit mode. |
 |
|
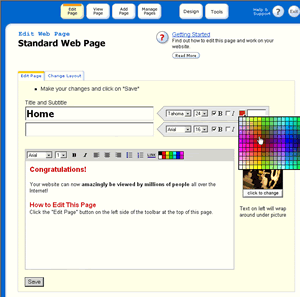 |
Step 2: Edit Page
The editor is easy to use.
Select fonts, styles and colors from on screen menus. |
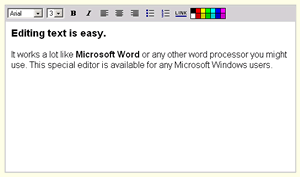 |
The editor works a lot like Microsoft Word or any other word processor.
You don't have to download or install anything for it to work. |
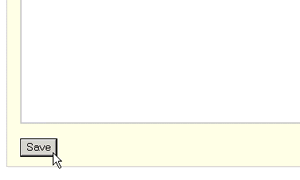 |
When done click Save. |
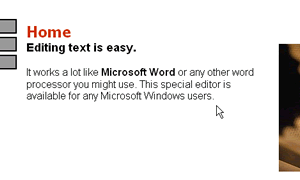 |
Step 3: View your changes
You're done! |
|
